Introduction
With 5D Mark III already established on the market, an ‘old’ camera, Canon EOS 5D Mark II became one of the most popular and affordable ones and thus more interesting to wider audience. An excellent camera with superb video capabilities and a pioneer when it comes to dslr videography. But when I first tried to shoot video, I must be honest, I didn’t know how to do it. I was searching for the button to enter the Video mode, without any luck.
This is just a short ‘how to’ that will help you set up your 5D Mark II to make your first 5D Mk II footage. We made it easy for you and sort it in a several steps, they’ll help you start making videos with your 5D in no time.
Simple steps to record video on 5D Mk II:
- Turn the mode dial to M
- Go to Menu
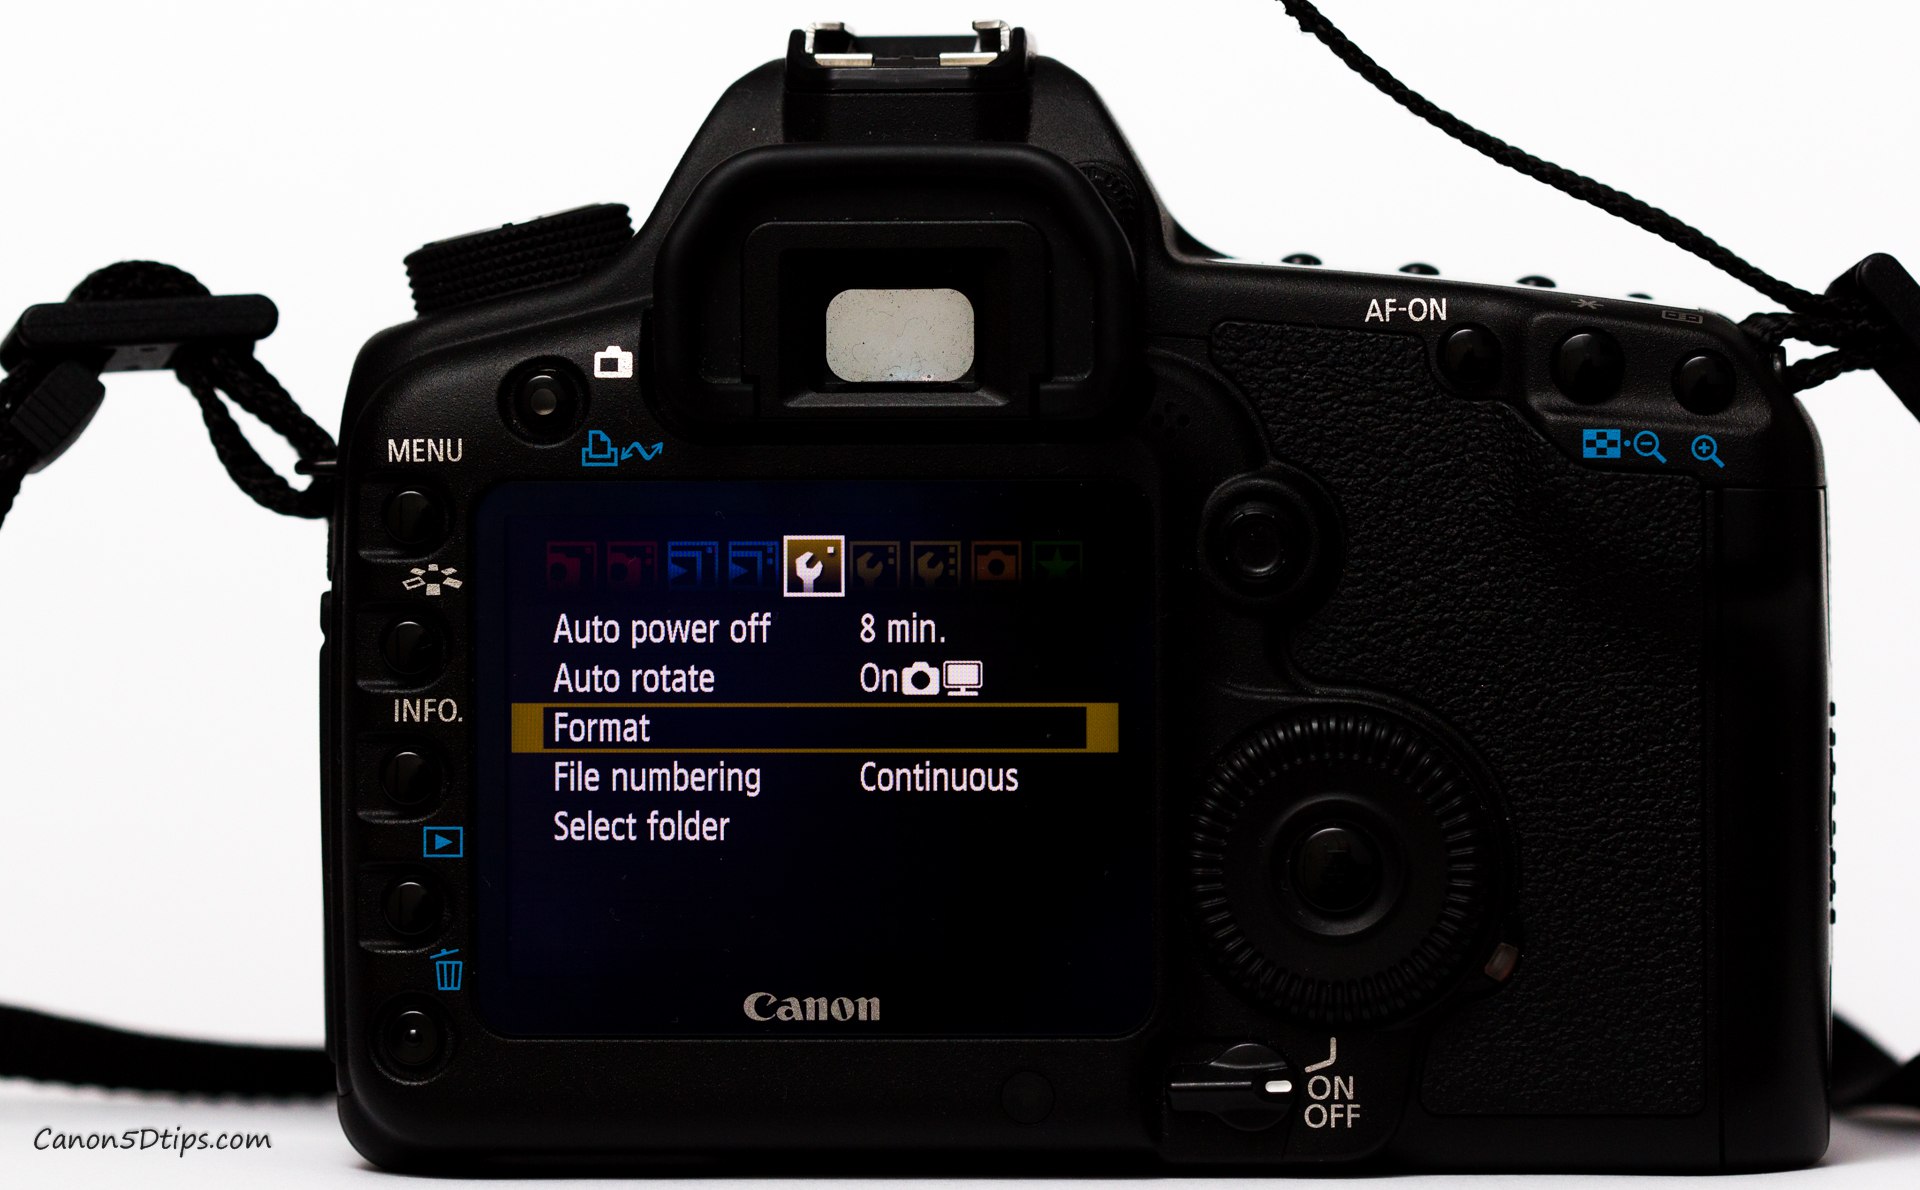
- 6th menu to the right (2nd yellow)

6th Menu to the right - First option on the top LV func. Settings
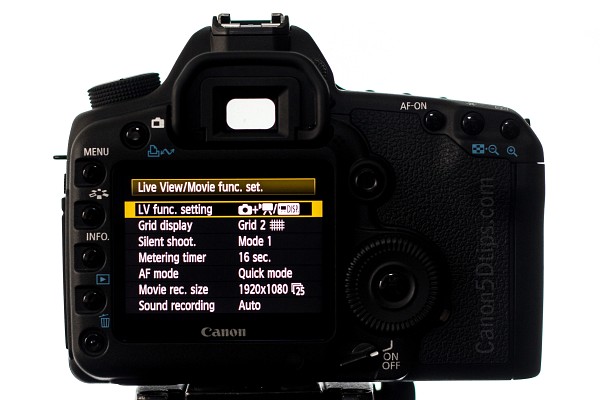
Live Menu Settings - Check the last, third option – Stills + movie, press SET
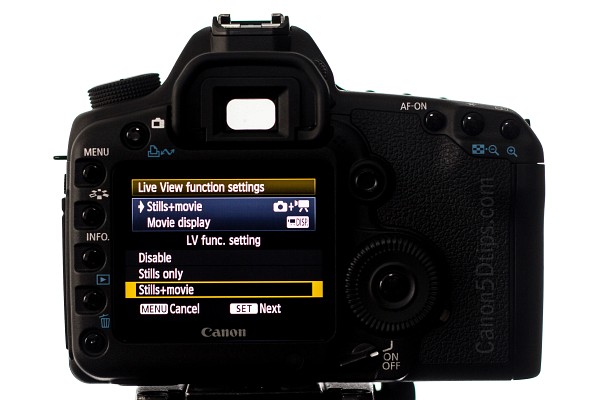
Stills+movie - After 4th you will have 3 options, choose Movie display, press SET

Movie Display - Go Back in View/Movie Settings
- Set Grid display to Off

Set Grid display OFF - Set Silent shoot to Mode 1
- Set Metering timer to 1 min
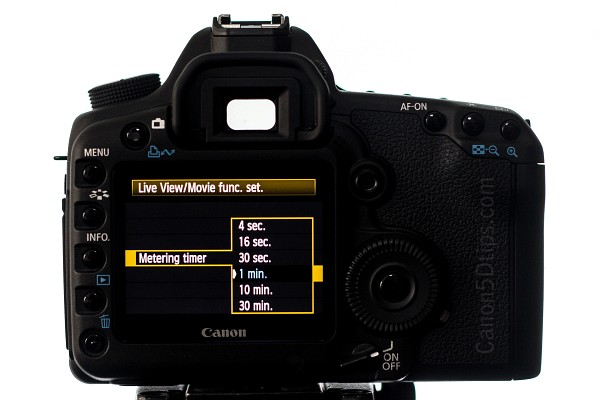
Metering timer – 1min - Set AF Mode to Live Mode
- Set Movie Rec Size to one you want

Movie format - If you are not using microphones set Sound Rec to Auto

Sound recording - Close Menu pressing Menu button twice
- Click Live view

Live View - Switch AF to MF on your lens
- Set White Balance

White Balance button 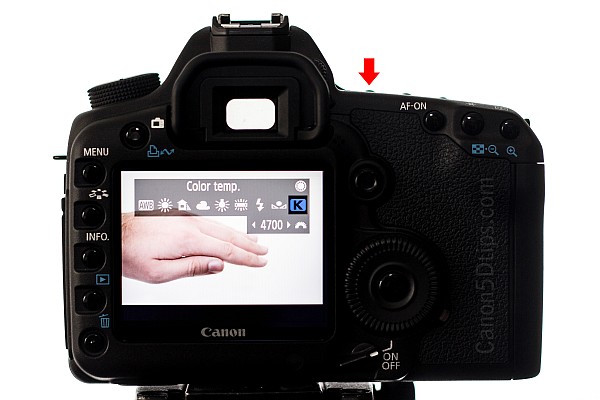
White Balance options - Press INFO button to check all Video settings along with the Histogram
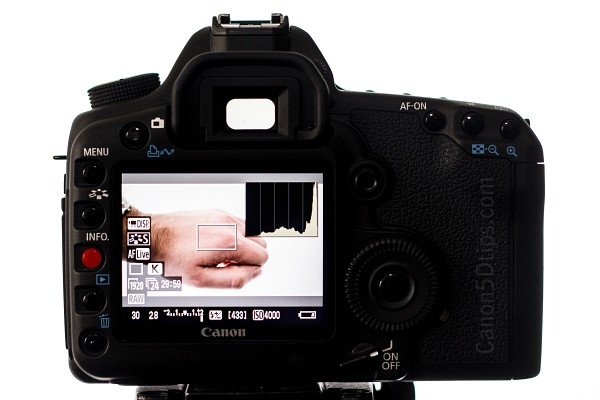
Info View - For best focus you should zoom in first 10x (press magnify button twice) and use the joystick to select the part of the frame where you want to focus and then focus your lens manually
- Pick a desired exposure and aperture
- Set ISO settings by your needs, lower ISO number, less grain

SET ISO - You can pick a preset you would like to shoot with pressing a button

Presets - For Start and Stop Press the middle (SET) button on a dial
You can find very interesting article to keep auto recording for longer time: here or try other easier solution on how to record more than 12 mins, or 4GB is the Magic Lantern software.